
National Scrapbook Day 2024 - Free Online Crop
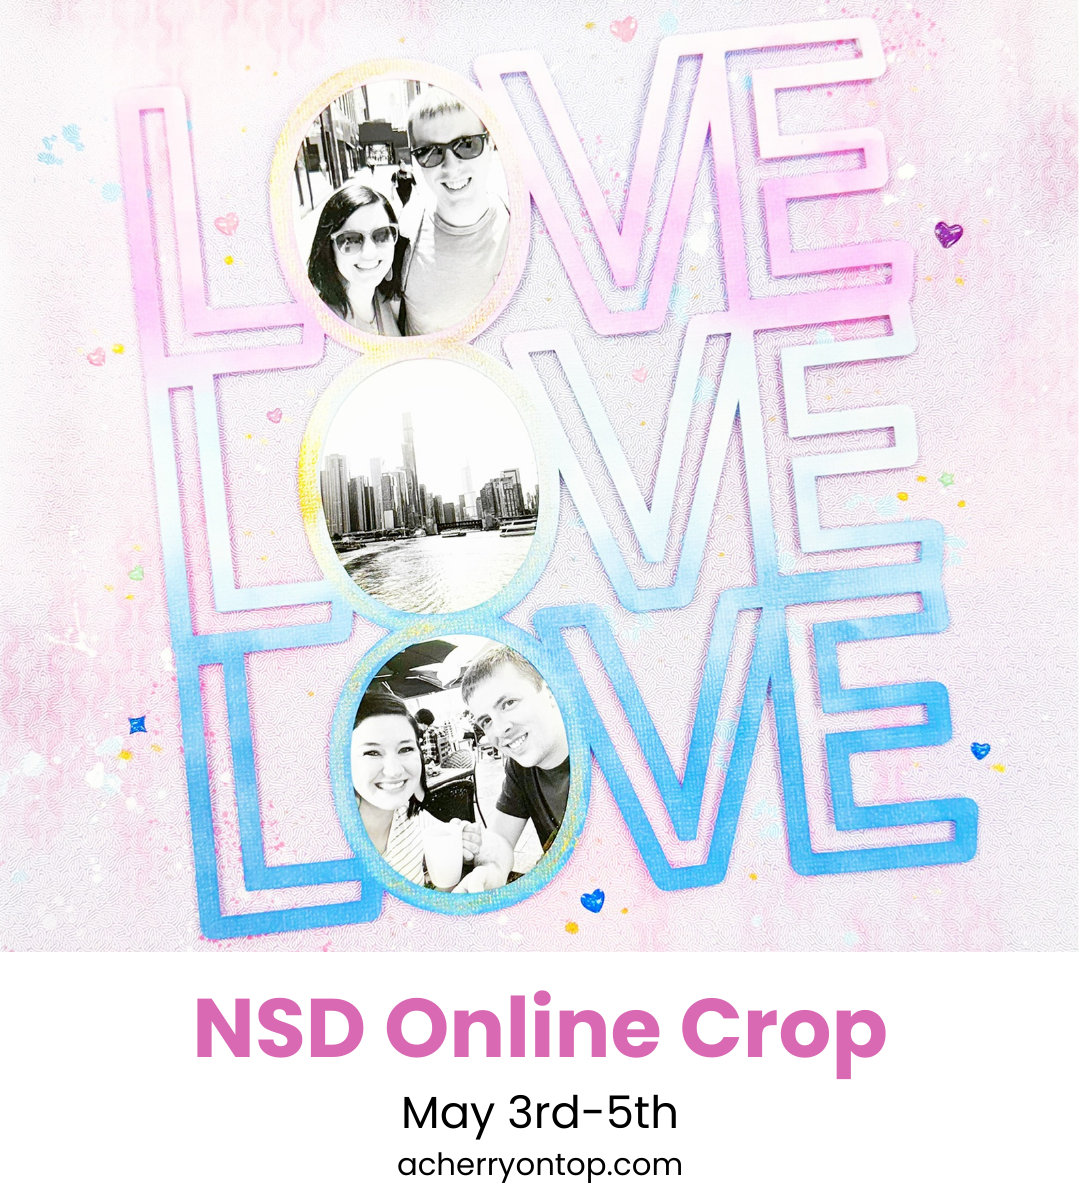 |
Come join us for our FREE event to celebrate National Scrapbook Day here at A Cherry On Top Crafts! We will be partying all weekend long (May 3rd-5th) with an online crop, challenges, games, giveaways, and more! You'll find all the action on our |
Rub-Ons On A Planner
Hello! It's Jennie McGarvey and guess what I'm going to share with you today?! If you said memory planner you would be right!
One of my very favorite things to use in my memory planner is rub-ons. They are gorgeous, easy to use, and add literally NO bulk to my planner. Since I like to keep my memory planner as thin as possible, rub-ons help me add depth to my memory planner. Plus, I really think that they are a lot of fun to use.
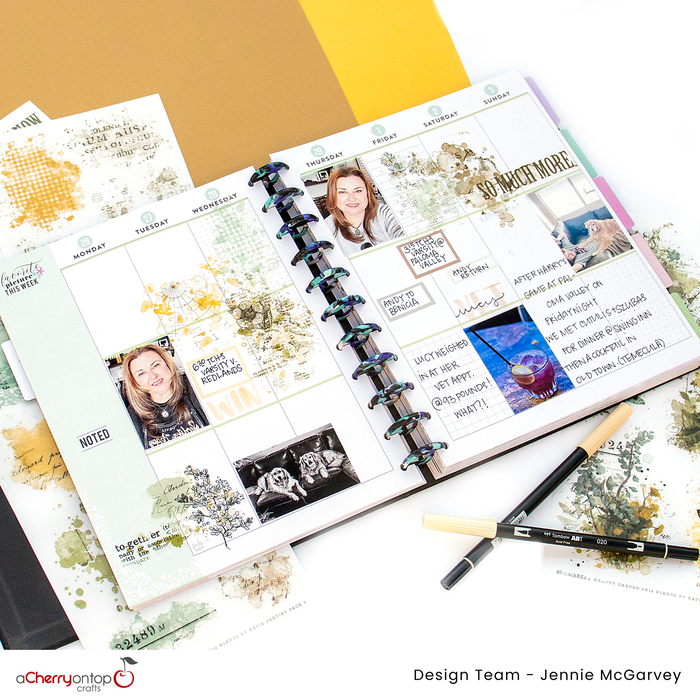
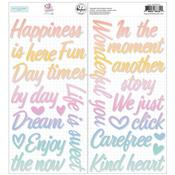
The new 49 and Market Krafty Garden rub-on sets are amazing. They are so gorgeous, the size is generous and they add texture to the project without any bulk whatsoever. I think that they work beautifully on their own, however, when you layer them on top of each other, they are positively wonderful. You read that right! You can layer the rub-ons on top of one another and you can see how I have done just that here in my memory planner in all three clusters that I created.
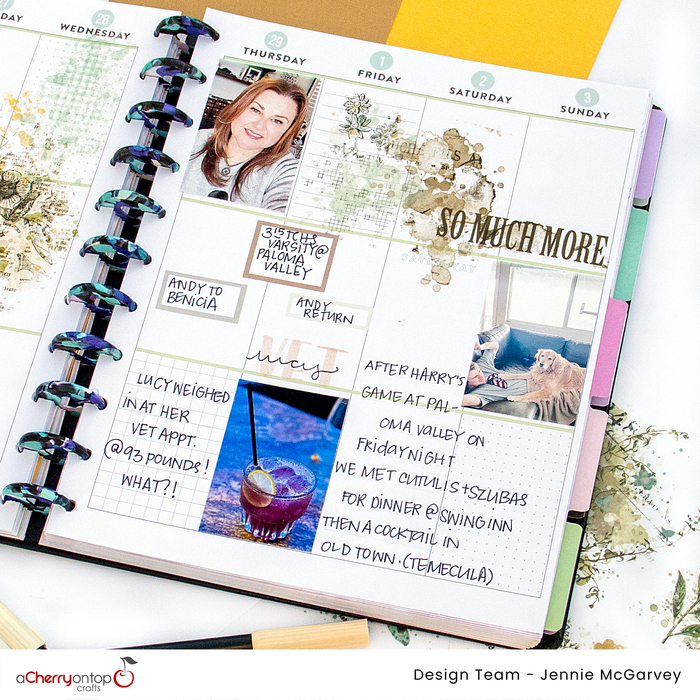
When I create memory planner layouts or any scrapbooking project, I try and limit the words I use in my embellishments. (There are exceptions to this but we'll not discuss this at this time!) It seems like there are descriptive words or words of encouragement in every single package of embellishments, and it can be a challenge to not use all the words on a layout. Because of my desire to limit the words to just one main word or phrase, I have to be mindful of that.
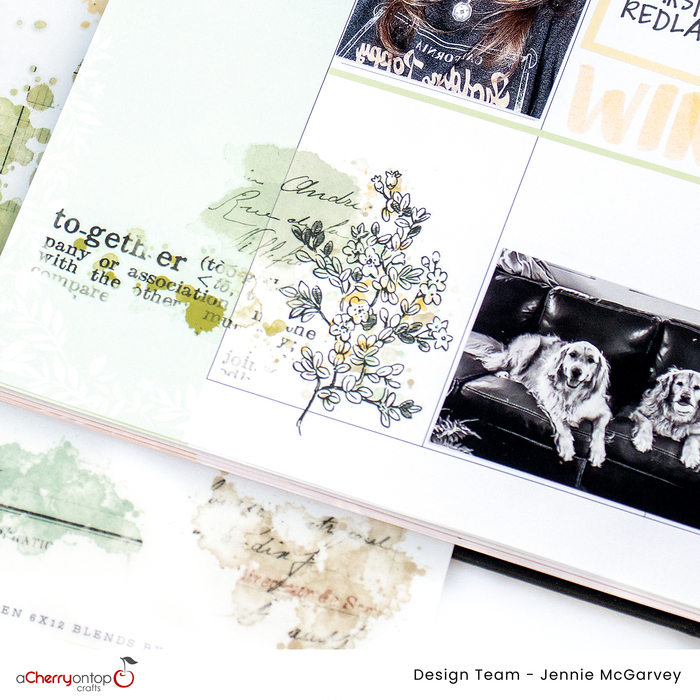
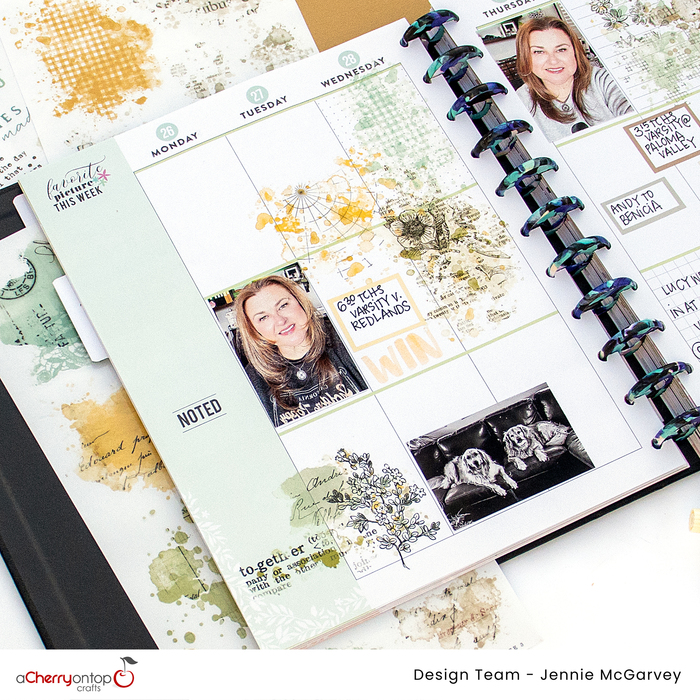
In the lower left hand corner, I have a smallish cluster where I layered three separate images. I first laid down the paint swatch, adding the definition next and the bouquet last. (Now, you may be wondering why I would use a definition here and a large phrase on the other page. Because the scale is different and they are different categories, I feel like they work fine together.)

In the upper right-hand corner, I did a similar thing. I layered three separate rub-on images together, overlapping them ever so slightly.

In the center, I have a large focal point, thanks to a large area of white space. (This is actually really exciting! Most weeks I have SO MANY PHOTOS I cannot do something of this magnitude.) Putting together three different images that are also different colors provides an eclectic look that I really like the results of!
Rub-ons are a great embellishment that can be used in such a huge variety of projects. Why not try them on your next layout or in your cardmaking?
Jennie McGarvey
Heya everybody! I’m Jennie and I live in Southern California. I’m a mom of 3 boys and wife to the most supportive husband I could imagine.
I’ve been paper crafting for 20 years and currently create more projects than I can keep track of. I also work in the paper crafting industry.
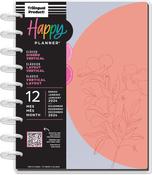
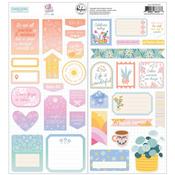
Mom Planner Spread
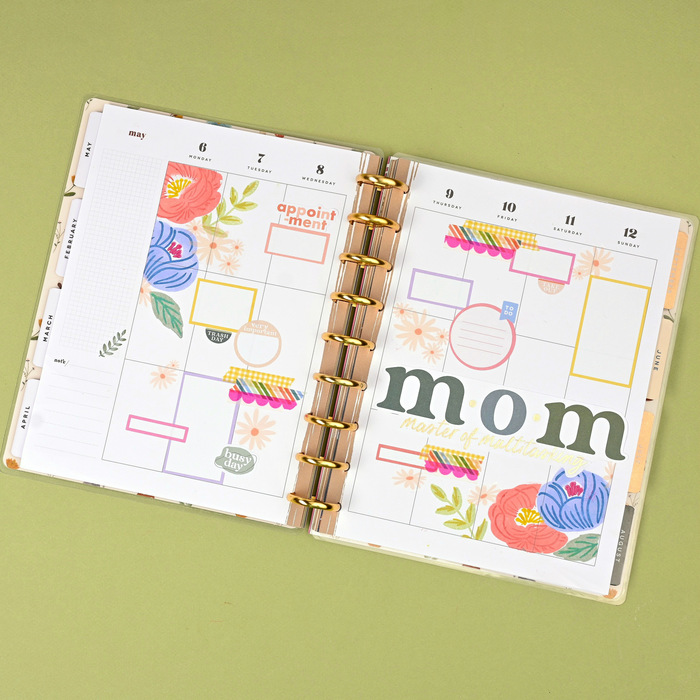
Hi, Mariel here with a decorative planner spread. I decorate my planner as a creative outlet and then write all my task lists and appointments for the upcoming week. Next Sunday is Mother’s Day, so I decorated my planner for it this week!
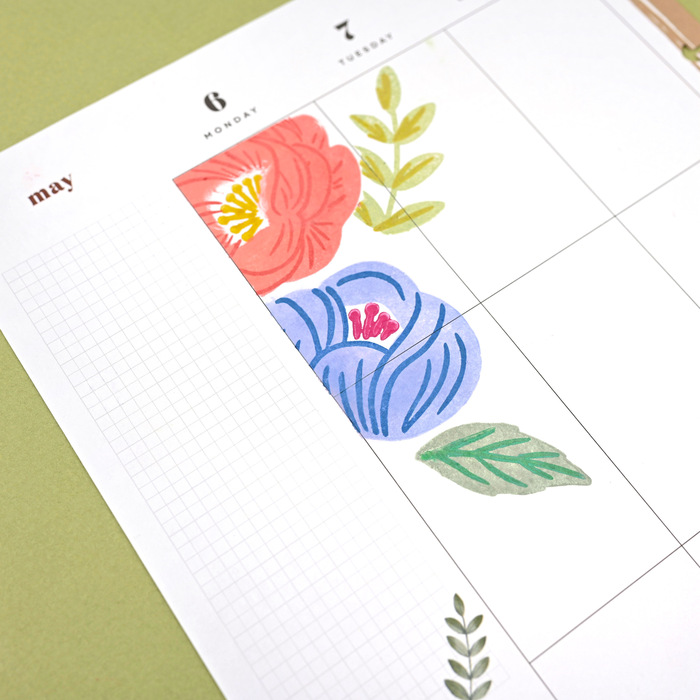
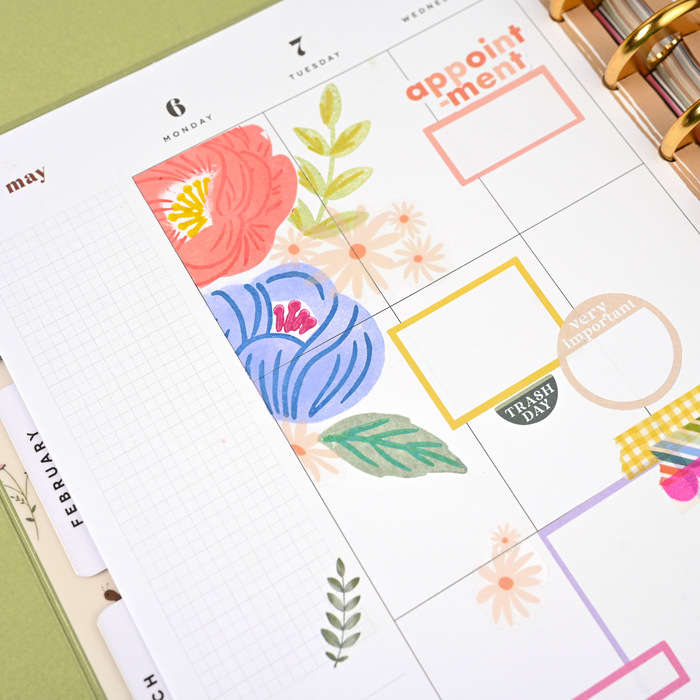
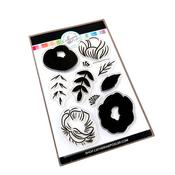
I decided to try stamping in my planner. I thought it would be fun to customize the colors using Oxide Inks in colors I love. I used the stamps Perfect Peoniesfrom CP Designs. I think it’s so fun to have these stamps and get different colors, looks and moods. I masked off the corners and stamped the florals and leaves in the upper left side and lower right side of the spread to ground it and tie both pages together.
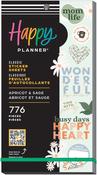
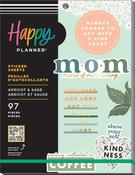
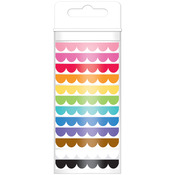
Next I grabbed two Happy Planner sticker books, one in the classic size and one with large oversized stickers. I put boxes down to write all my appointments and activities in. I chose different sizes and colors to add variety and interest. Using these adds function and a place for me to visually blocking off those spaces in my week. I also layered two circles for some important things during my week so they stand out. The sticker books also have task stickers and “to do’s” to add more function.
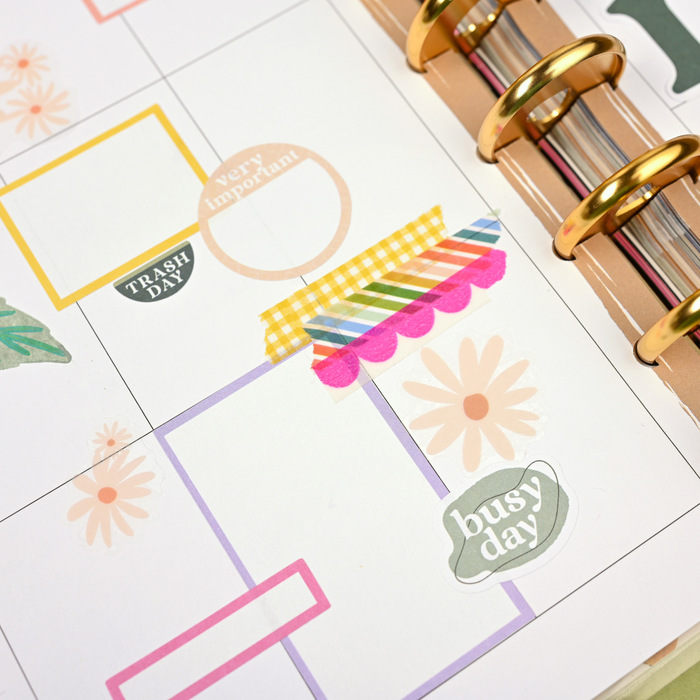
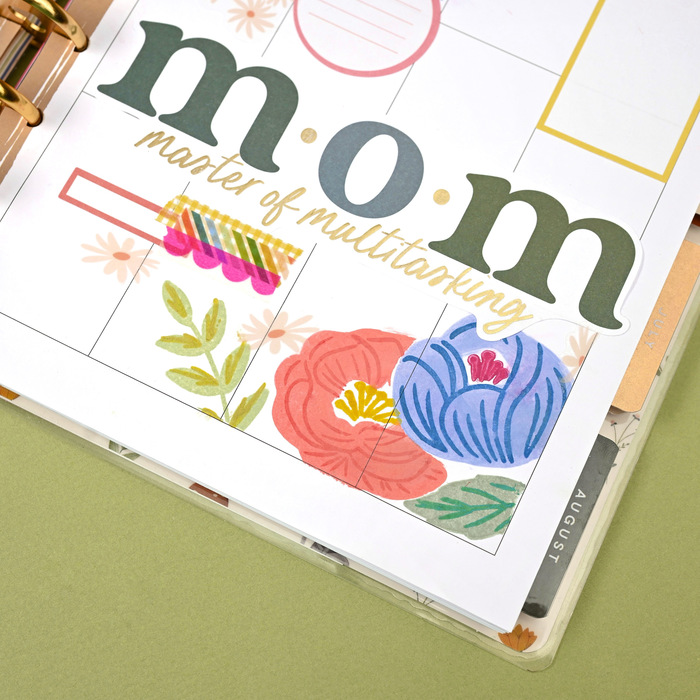
Then I added a large focal sticker that says “mom”. I love how it is bold and has some delicate gold script. I also layered some daisy stickers with my stamps to add more interest. I also added the daisies around the boxes. Next I grabbed some fun washi to add some additional pattern and texture and layered them together. I always add these in three’s in three places on my spread!
I love how this turned out and can’t wait to add all my plans and use it all week long!
Thanks,
Mariel
Products Used:


Mariel Reyes
Hi! I’m Mariel from just outside of Austin, Texas. I am a wife and mom of two who can’t get enough of crafting! I love to combine productivity with creativity in my paper planning and memory planning, but now that my kids are older I am excited to get back into scrapbooking and exploring new craft techniques. I love photography, stickers, and family vacations, and am passionate about documenting the little things in life. I can’t wait to share this passion with you!
Dream Big Scrapbook Layout
Hello friends! It’s Ashley Neu here to share my next ACOT Design Team project. I hope you are having a good start to your week. I am stopping in to share this layout featuring the The Simple Things collection from Pinkfresh Studio. This layout came together in 20 minutes! It was so much fun to make and I absolutely love the way it came out.
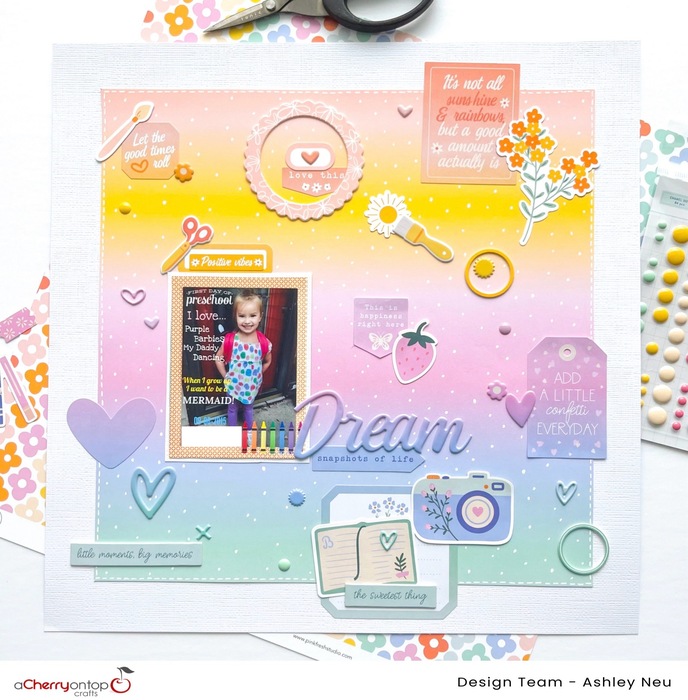
I cut the All the Things paper into a 10-inch square and matted it with some white cardstock. This will be the only patterned paper that I will use on this layout!
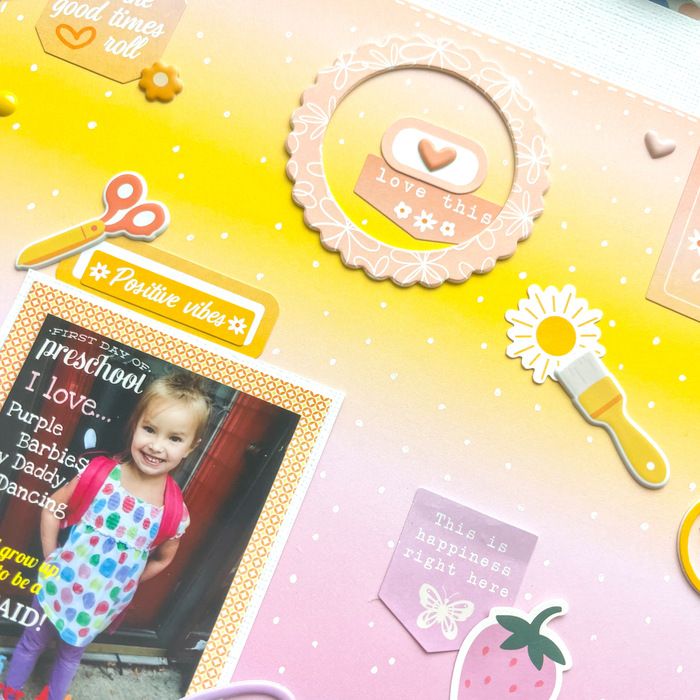
The embellishing part was super simple! I went for a tone-on-tone look so I grabbed the Cardstock Stickers which match this patterned paper perfectly! I used some stickers that I felt fit well with my photo and placed them on the coordinating colors of the background paper.

To pull in even more color, I used some of the embellishments from the Chipboard Frames Stickers as well as the Puffy Stickers. Again, all I did was find coordinating embellishments and spread them out over the background paper. The title came from the Puffy Title Stickers. I love that script font!
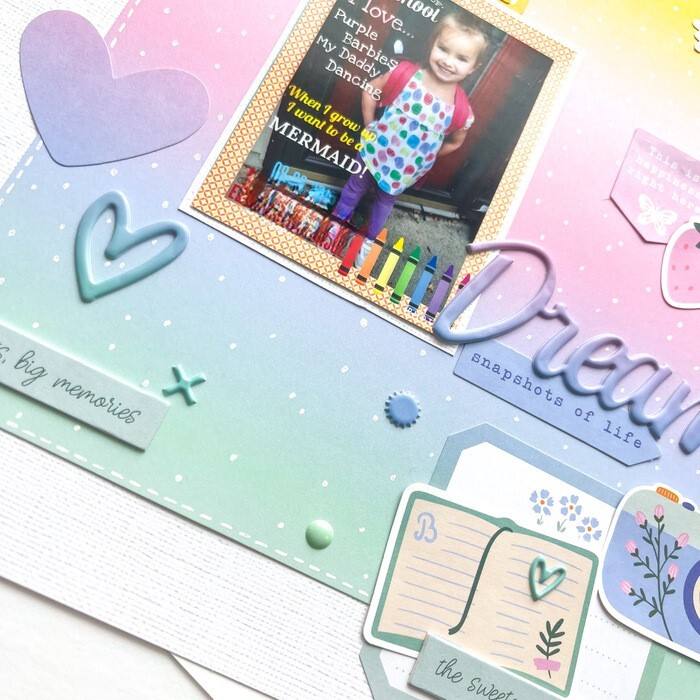
Lastly, I used a white gel pen to create some stitching lines around the layout as well as some white dots that remind me of paint splatters!
Thank you for coming by the blog today. I hope you check out this beautiful collection from Pinkfresh Studio. Have a great day!
Products Used:

Ashley Neu
Hello! My name is Ashley Neu and I reside in a small town in Minnesota with my husband, Joshua, of 12 years, and our 3 beautiful daughters, ages 13, 11, and 9. I have been scrapbooking for 19 years! I enjoy creating with cut files, sketches, and stitching on layouts. I am not huge into mixed media as I enjoy the cleaner and simpler side of scrapbooking. Fun facts: I enjoy rewatching episodes of The Big Bang Theory, thrift shopping, and reading thriller books.
May YouTube Hop 1 comments
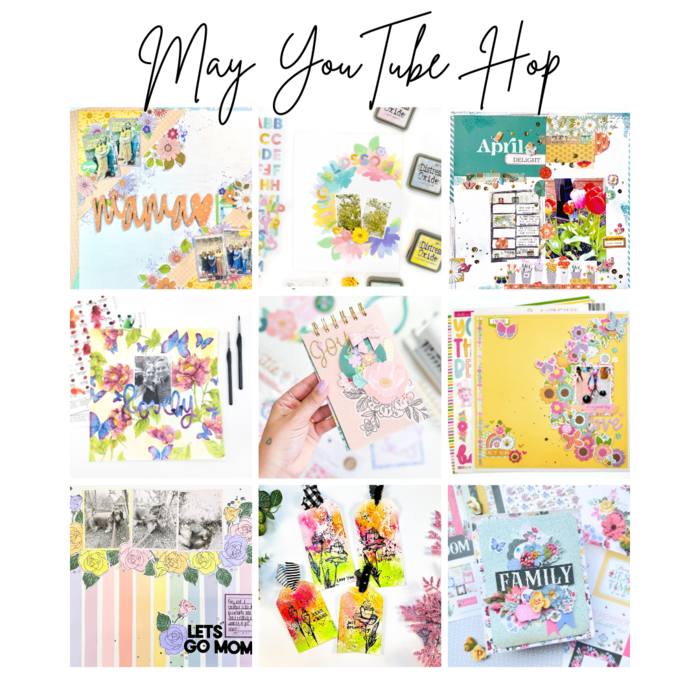 | Welcome to the A Cherry On Top May YouTube Hop! Leave a comment on the videos in the hop for a chance to win a $25 ACOT gift certificate! One winner will be selected next week and announced on the A Cherry On Top YouTube video. Click on the images below ... |
Field Notes - Scrapbook Layout 4 comments
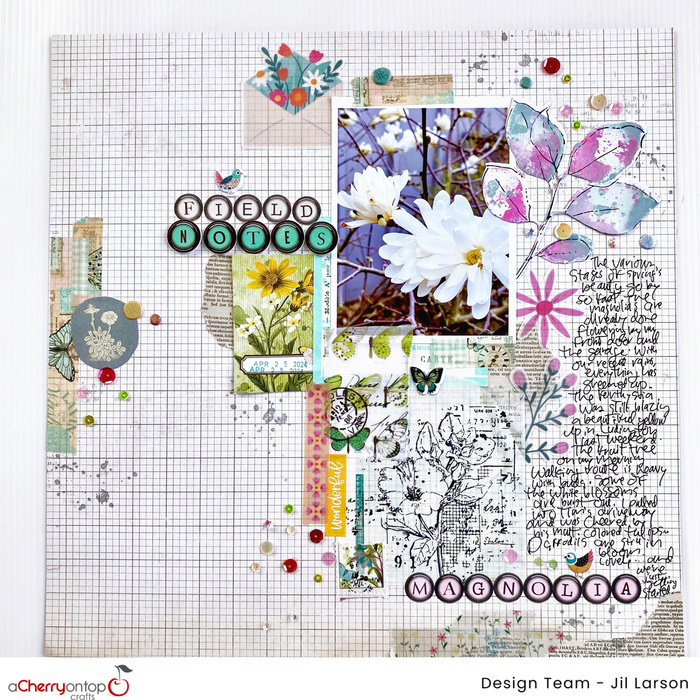 |
I love doing some field notes scrapbook pages, especially in the spring. My starting point for this page was a photo of magnolias that recently were in bloom near my home and the new 49 and Market and Sizzix stamps and dies. <... |
Unboxing The Fuse Foiling System
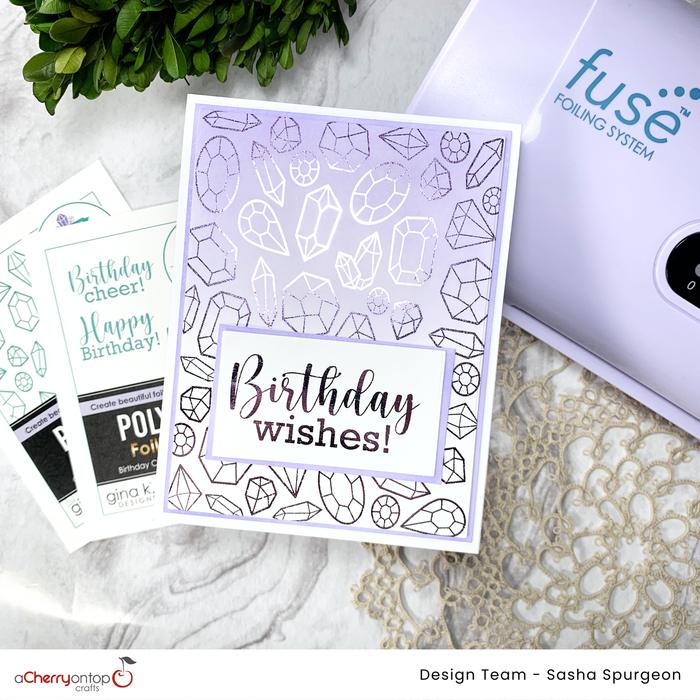 | Hello everyone! Sasha here, and today I’m sharing with you an unboxing of the Fuse Foiling System from Gina. K Designs and inspiration using the products included in the box! The limited-edition Amethyst edition features an exclusive ... |
Outdoor Scrapbook Layout
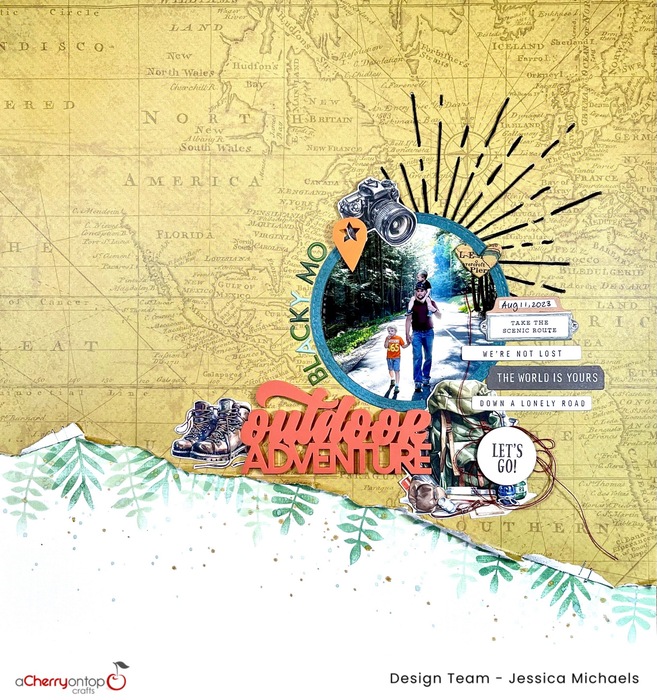 |
Hello everyone! How about a scrapbook layout with 49 and Market supplies? Jessica here and I’m using the Wherever collection ... |
Capture Every Moment - Pinkfresh Studio Layout
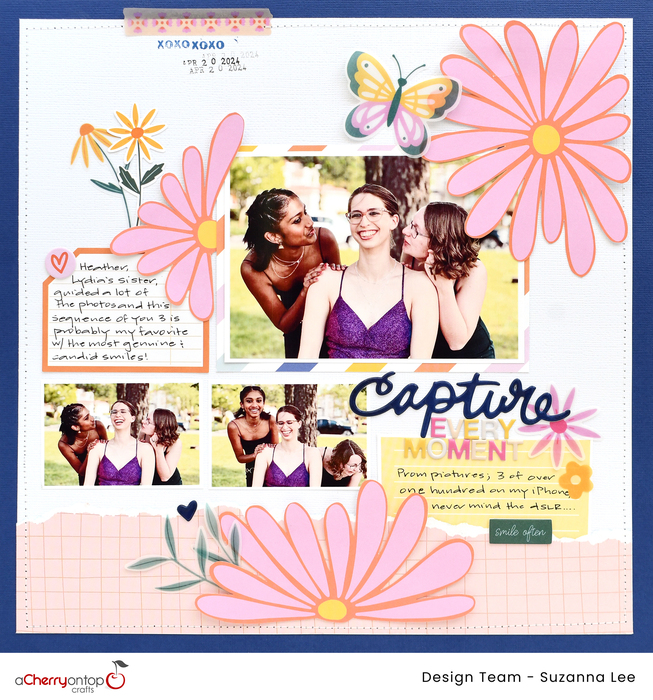 | Good morning Cherries! Suzanna here today to share a multi-photo layout created using the last (for now, hopefully) scrapbook collection by PinkFresh Studio, The Simple Things.
This layout features fussy-cut flowers and vellum die-cut ephemera<... |
Toy Joy Scrapbook Layout 2 comments
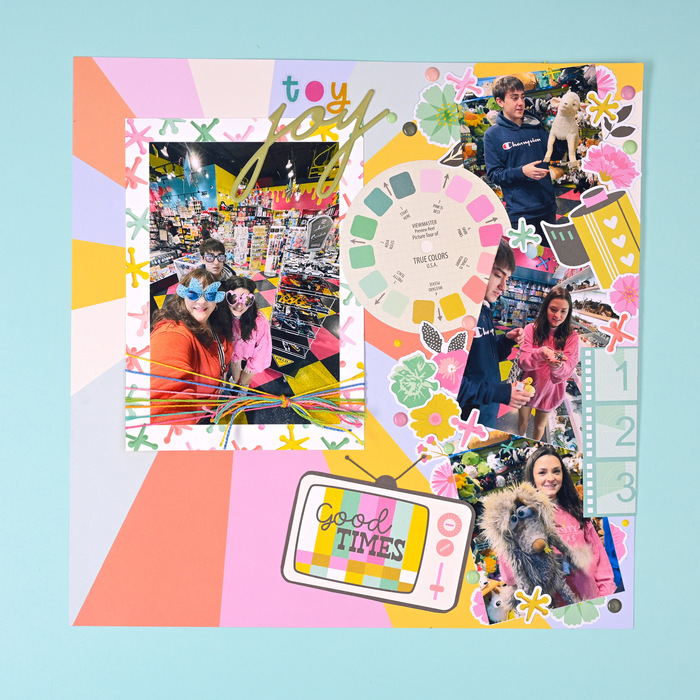 |
Hi! It’s Mariel sharing a scrapbook page I created to commemorate a visit to a toy store with my kids. I started with a piece of scrapbook paper from the Pinkfresh Studio collection, The Simple Things. I backed my main 4x6 photo with the jacks s... |
In Full Bloom Scrapbook Layout 1 comments
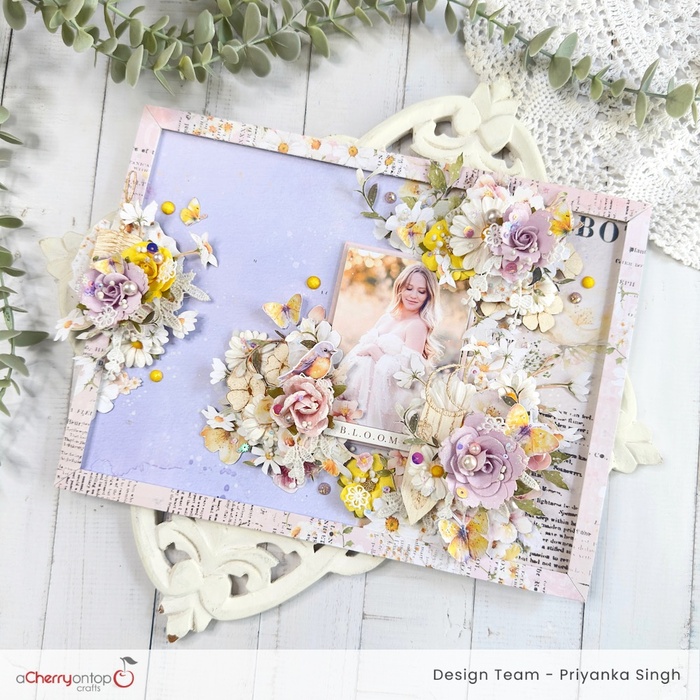 |
Hello, crafting enthusiasts! Today, I'm excited to share a step-by-step guide on creating a stunning floral layout using the "In Full Bloom" collection by Prima Marketing Inc. This collection is a treasure trove of beautiful floral elemen... |
Weekly Sketch Challenge 375
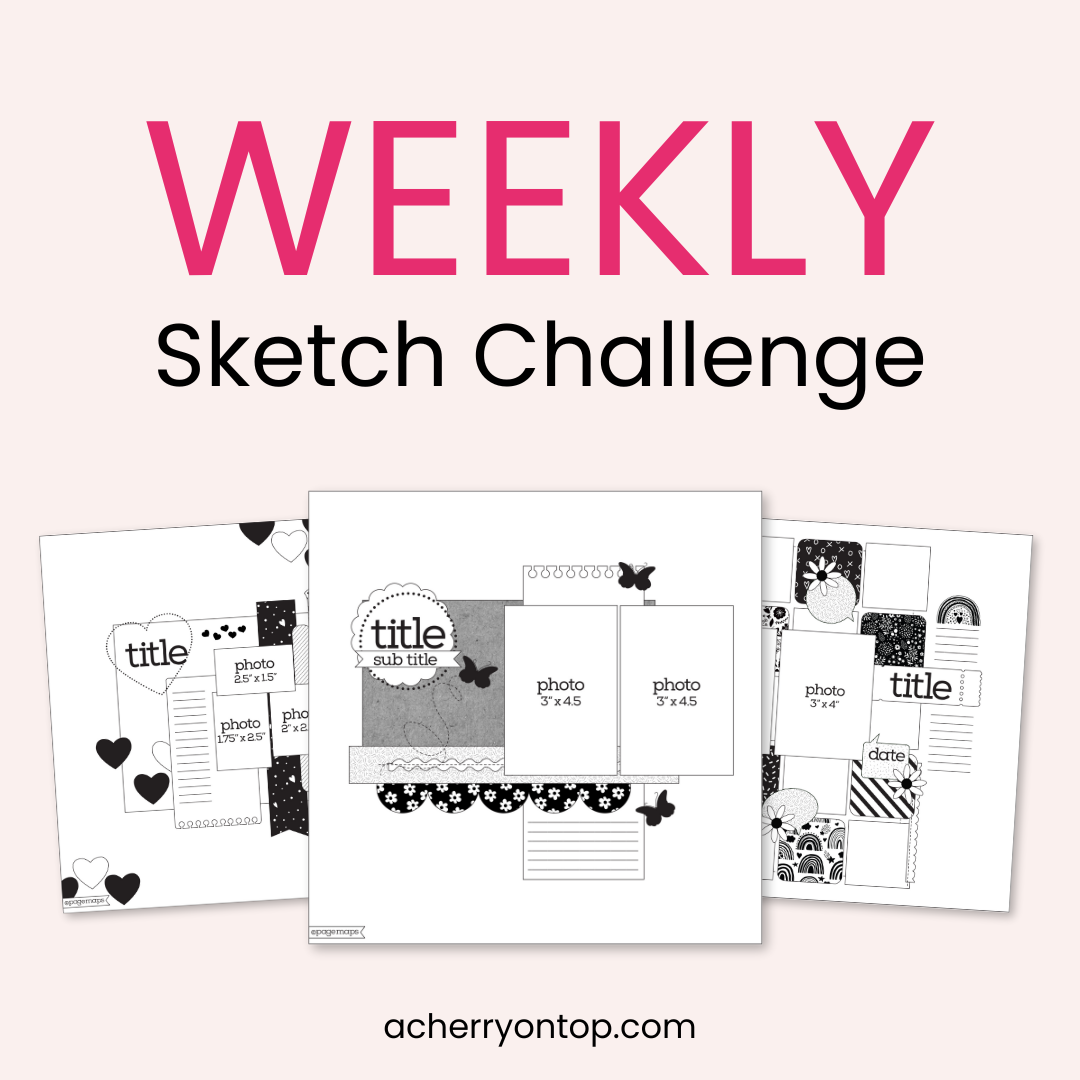 |
Need some inspiration for your scrapbooking? Every week we post a brand new sketch challenge for you! Here is this week's sketch challenge, and read below how you can earn Cherry Points.
Post your finished project... |
Making An Album Out Of A Card Kit 1 comments
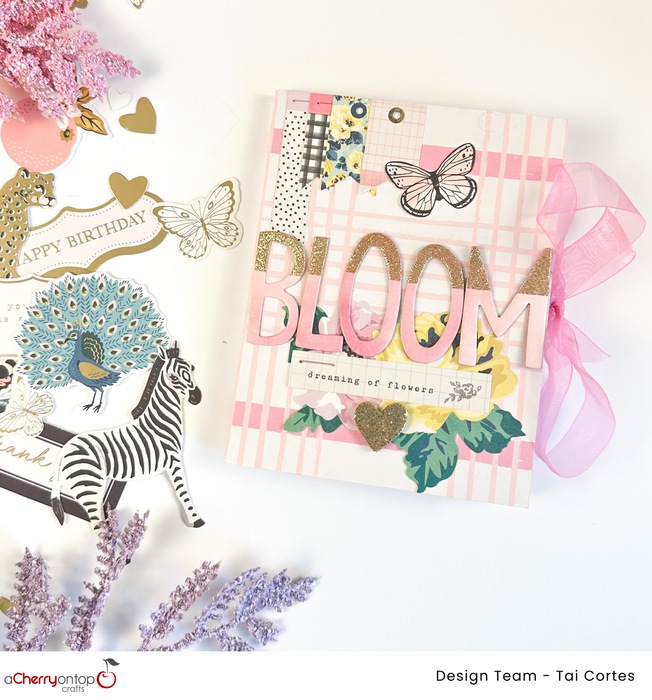 |
Hello, my crafty friends! It's Tai and I am here today with a mini-album project. I used the Woodland and Groove card kit from Maggie Holmes. The kit comes with 20 cards and envelopes, die cuts, stickers, and washi tape. The packa... |
Spring Cards With The Cherry Box
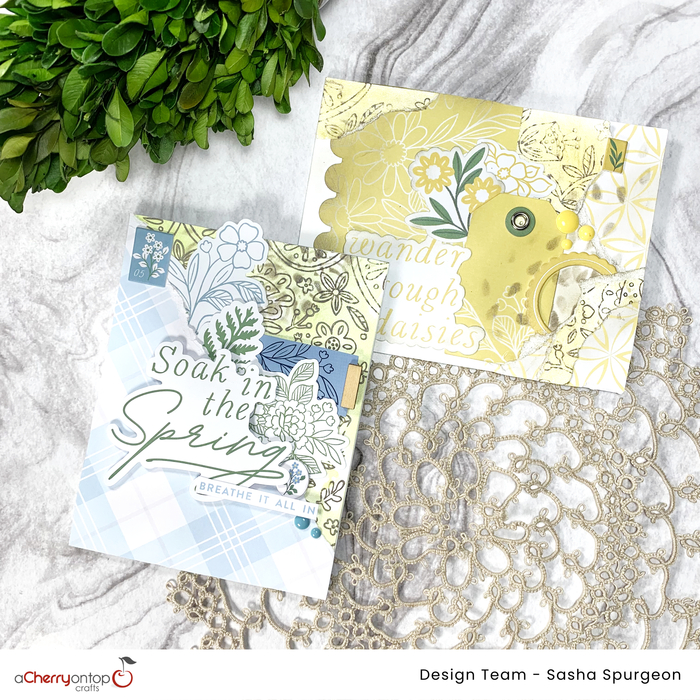 |
Hello everyone! Sasha here, and today, I’m sharing some more inspiration using the Spring Cherry Box!
When I first received the box, I was especially excited to play around with the stencil butters from The Crafter.. |
Butterfly Filled Scrapbook Layout
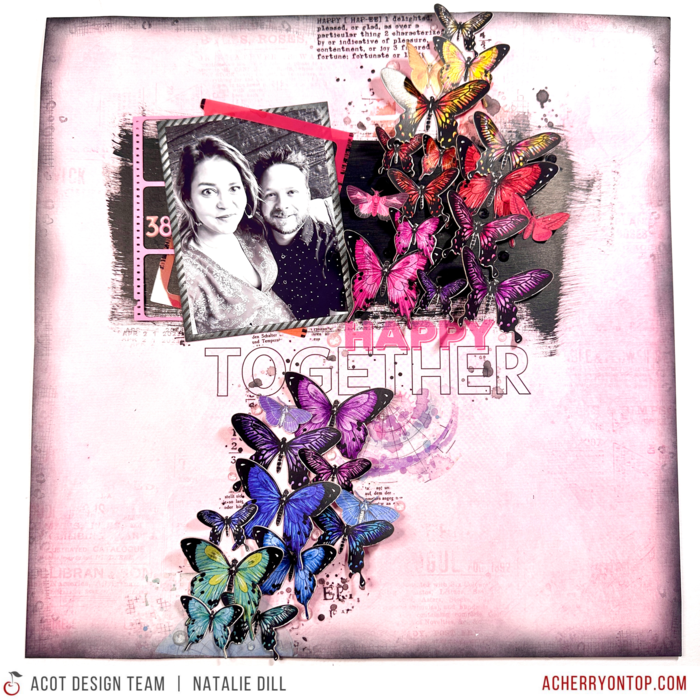 | Hey Cherries! Natalie here today creating a very dimensional page and combining manufacturers for a bold scrapbook look.
The star of the show today is this pack of butterfly die cuts by Aall & Create! This beautiful collection... |
Next Page
Page 1 of 240
- National Scrapbook Day 2024 - Free Online Crop
- Rub-Ons On A Planner
- Mom Planner Spread
- Dream Big Scrapbook Layout
- May YouTube Hop
- Field Notes - Scrapbook Layout
- Unboxing The Fuse Foiling System
- Outdoor Scrapbook Layout
- Capture Every Moment - Pinkfresh Studio Layout
- Toy Joy Scrapbook Layout
- In Full Bloom Scrapbook Layout
- Weekly Sketch Challenge 375
- Making An Album Out Of A Card Kit
- Spring Cards With The Cherry Box
- Butterfly Filled Scrapbook Layout
- Tutorials - Planners & Journals (104)
- Tutorials - Paper Crafting (249)
- Announcements (397)
- Tutorials - Scrapbooking (546)
- Contests & Challenges (643)
- Cherry Box (141)
- Home Decor (20)
- DIY Crafts (8)
- Contests & Challenges Winners (3)
- Tutorials - Painting (32)
- Tutorials - Crafts (21)
- Tutorials - Needle Crafts (11)
- Product Features (68)
- Tutorials - Stamping (20)
- Featured Guests (241)
- Tutorials - Photography (12)
- Tutorials - Hybrid (18)
- Videos (97)
- Creative Team Reveals (781)
- Creative Team Spotlight (65)
- Tutorials - Digital (64)


